How To Clean Blackstone Air Fryer
Keeping a Blackstone air fryer clean is simple once you know which parts need attention and how often. This guide explains how to clean it step by step, from the basket and crisper tray to the interior and outside housing. It also covers safety, the right supplies, and a routine that keeps grease and odors under control.
No prior knowledge is needed. Each section explains what to do and why it matters. Following these steps helps the appliance cook better, last longer, and stay safe to use.
Key Takeaways
- Always unplug the unit and let it cool fully before cleaning.
- Wipe the basket and crisper tray after each use, and deep clean them when grease builds up.
- Never submerge the main unit in water, and avoid abrasive scrubbers on nonstick surfaces.
- Dry every part completely before putting the air fryer back together.
- A simple daily, weekly and monthly routine prevents most grease and odor problems.
Introduction
This article is written for people new to air fryers. It explains the main parts, the tools to use, and the steps for each area. It also points out common mistakes that can damage the nonstick coating or electrical components.
What Is a Blackstone Air Fryer and Why Cleaning Matters
An air fryer is a countertop appliance that cooks food by blowing hot air around it. A fan moves the air quickly, which crisps food with little or no added oil. Blackstone makes several styles, so the layout can vary by model.
Cleaning matters for two reasons. Leftover grease and crumbs can smoke, affect the taste of food, and cause odors. Built-up residue can also block airflow, which makes cooking less even.
Basic Parts You Need to Clean
Most air fryers share the same main parts. The basket holds the food. The crisper tray sits inside the basket and lifts food so air can reach all sides. The heating element is the coil that produces heat.
The fan and air vents move hot air through the unit. Check your manual to confirm which parts are removable on your model.
How Grease and Food Residue Build Up
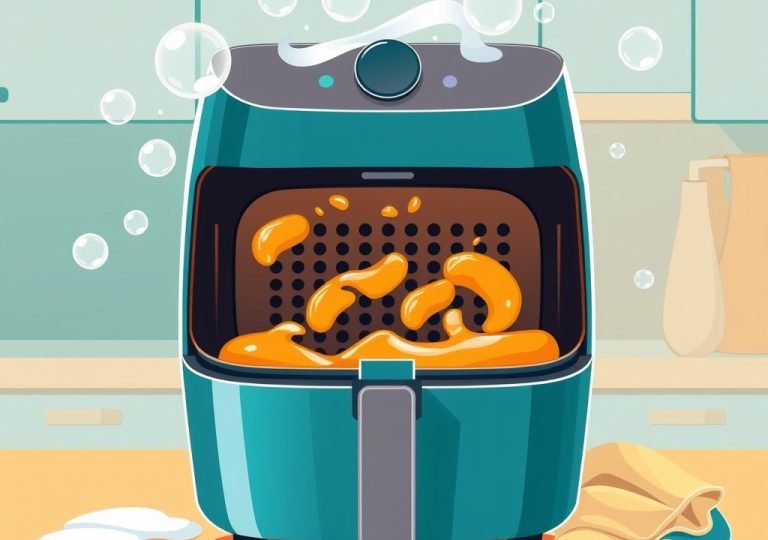
Grease drips from meat and oily foods during cooking. It collects on the basket bottom and the chamber floor, then hardens over time.
Small crumbs can fall into gaps and burn on the next use. This burnt residue causes most smoke and odor problems. Cleaning after each use stops buildup before it hardens.
Before You Start: Safety and Supplies
Safety comes first when cleaning any electrical appliance. Check the manual for model-specific advice. Working with a cool, unplugged unit protects you from burns and shock.
Unplug and Let the Unit Cool
Unplug the air fryer from the wall outlet before cleaning. Wait until the basket, chamber and outside surfaces feel cool. The heating element stays hot for a while after use.
Once the unit is cool, remove the basket and any accessories. This gives you clear access to every part that needs cleaning.
Tools and Cleaning Supplies to Gather
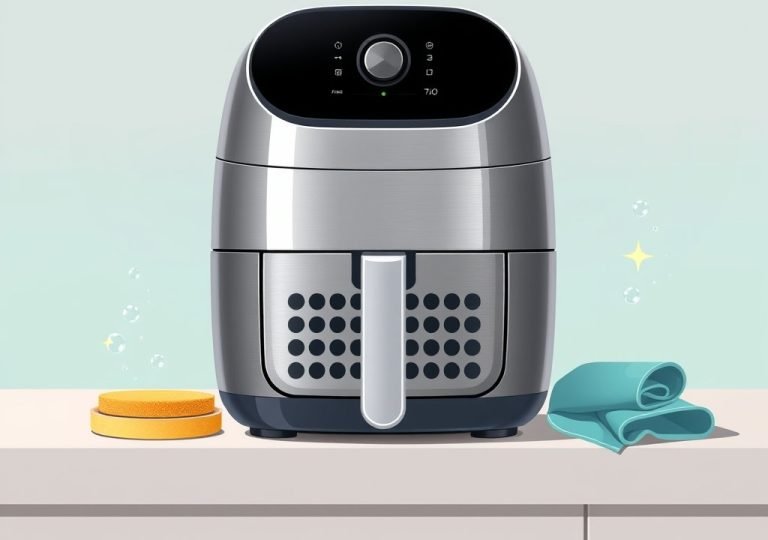
You do not need special products. A soft sponge or non-abrasive cloth works well for most jobs. A soft-bristled brush helps reach corners and vents, and a dry microfiber cloth is useful for drying.
Warm water and mild dish soap handle most grease. Baking soda helps with stubborn spots. Keep paper towels nearby.
Products to Avoid on Products to Avoid on Nonstick Surfaces
Many basket coatings are nonstick, and harsh products can wear them away. Steel wool, scouring pads and strong oven cleaners should stay on the shelf.
Bleach and abrasive powders can leave residue or scratches. Stick with gentle dish soap and water for regular cleaning.
How to Clean the Basket and Crisper Tray
The basket and crisper tray collect the most grease and food. A quick wipe after each use keeps them in good shape. A deeper clean is needed when grease builds up.
Quick Daily Wipe Down
Once the basket is cool, wash it in warm, soapy water. Use a soft sponge to remove grease and crumbs. Rinse well and dry it fully before the next use.
Wipe the crisper tray the same way. Check the small holes or slots, since trapped food can block airflow.
Deep Cleaning a Greasy Basket
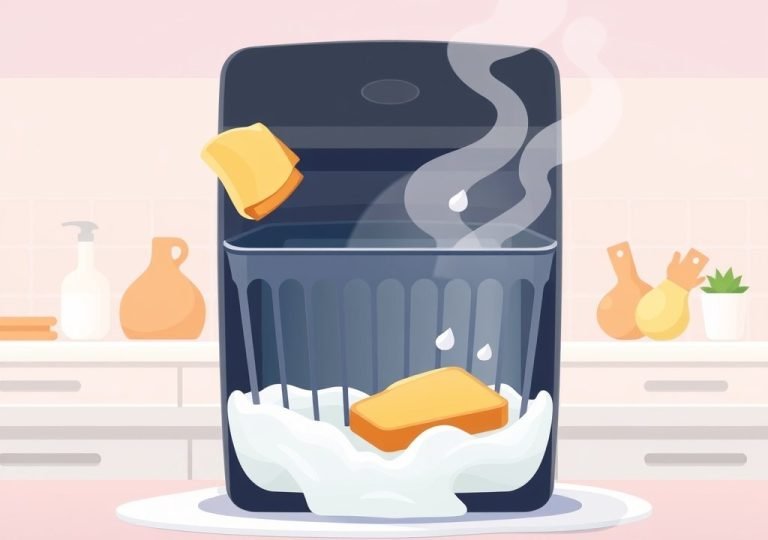
When grease has hardened, soak the basket in warm, soapy water for several minutes. Gently scrub with a soft sponge or brush, paying attention to the corners.
Rinse thoroughly until no suds remain, since leftover soap can affect the taste of your next meal. Dry every surface.
Soaking Stuck-On Food
Stuck-on food often loosens with time. Fill the basket with warm water and a few drops of dish soap. Let it sit for about fifteen to thirty minutes before wiping.
For tough bits, use a plastic scraper or wooden spoon instead of metal tools. This protects the nonstick surface while still removing residue.
How to Clean the Interior and Heating Element
The interior of the cooking chamber collects crumbs and grease that drop from the basket. The heating element sits in this space, so handle it with care. Clean only when the unit is fully cool and unplugged.
Removing Crumbs From the Cooking Chamber
Use a dry paper towel or soft brush to sweep out loose crumbs. Work from the back of the chamber toward the front so debris does not fall into the fan area.
For sticky spots, dampen a cloth with warm water and wipe gently. Dry the area right away so moisture does not sit inside the unit.
Wiping the Heating Element Safely
The heating element is the coil or tube that produces heat. Never scrub it hard or use metal tools on it. A light wipe with a slightly damp cloth removes most residue.
Let the element dry completely before you plug the unit back in. Water left on electrical parts can cause damage or a shock risk.
Cleaning the Fan and Air Vents
The fan and vents move hot air through the unit, and dust and grease can collect around them over time. Use a dry soft brush to remove dust from the vents.
Do not push objects deep into openings. Clean only what you can reach easily, and check your manual for guidance on fan access.
How to Clean the Exterior and Control Panel
The outside of the air fryer collects fingerprints, splatters and dust. Regular wiping keeps it clean, and gentle care helps the buttons and display last longer.
Cleaning the Outside Housing
Wipe the outer housing with a soft cloth dampened with warm, soapy water. Work in small sections, wipe away grease spots, and dry the surface with a clean cloth.
Avoid spraying cleaner directly onto the unit. Liquid can seep into vents, so apply it to the cloth first.
Protecting the Display and Buttons
The control panel can be sensitive to moisture. Use a barely damp cloth to wipe gently around buttons and the display, then dry it right away.
Avoid abrasive pads or strong chemicals on the panel. These can scratch the surface or fade printed labels.
Cleaning Tips for Stubborn Grease and Odors
Some grease and smells need more than a quick wipe. The tips below help with stubborn residue without harsh products.
Using Baking Soda and Water
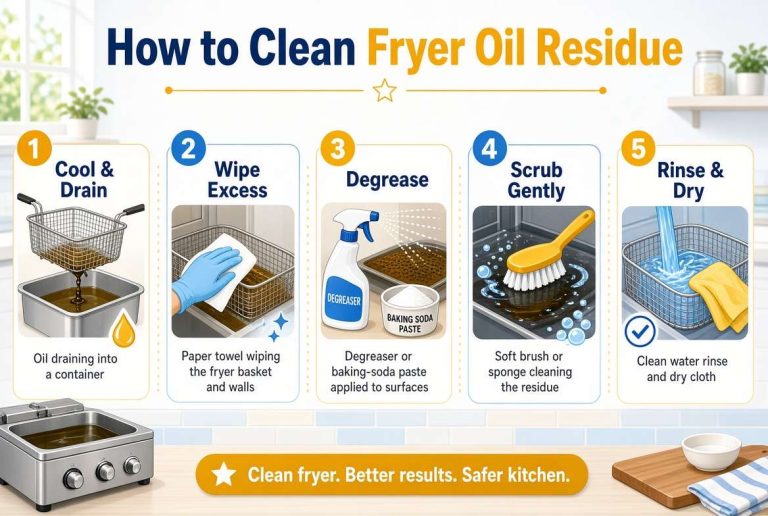
Baking soda is a mild abrasive that lifts grease gently. Mix a small amount with water to form a paste, spread it on the stain, let it sit for a few minutes, then wipe with a soft cloth.
Rinse the area well and dry it fully. Use this method only on parts that are safe for it, and check your manual first.
Removing Burnt-On Residue
Burnt residue can cling to the basket and chamber. Soak the part in warm, soapy water to soften it, then use a plastic scraper or soft brush to lift the loosened bits.
Repeat the soak if needed. Patience works better than force, which protects the nonstick coating.
Eliminating Lingering Smells
Smells often come from grease that has not been fully removed. Clean the basket, tray and chamber thoroughly, then dry every part. Running the empty unit briefly on a low setting can help clear leftover odor, as long as the interior is completely dry.
If a smell continues, check for hidden crumbs in corners and under the crisper tray.
Daily, Weekly and Monthly Cleaning Routine
A simple routine is easier to keep than a big cleaning session. Small habits prevent most buildup.
Simple Habits After Each Use
After each use, unplug the unit and let it cool. Wash and dry the basket and crisper tray, and wipe away loose crumbs inside the chamber. These few minutes stop grease from hardening and keep odors from building up.
Weekly and Monthly Deep Cleaning Tasks
Once a week, deep clean the basket, check the crisper tray holes, and wipe the outside housing. Look over the heating element area for residue, and clean it gently.
Once a month, brush dust from the vents and inspect the fan area. Confirm all parts are fully dry before the next use.
Common Mistakes Beginners Make When Cleaning
Most cleaning problems come from a few common errors. Avoiding them helps prevent damage to your air fryer.
Using Abrasive Scrubbers or Harsh Chemicals
Steel wool and strong chemicals can scratch or wear away the nonstick coating. Scratches make food stick more over time. Stick with soft sponges and mild dish soap.
Submerging the Unit in Water
The main unit contains electrical parts and should never be placed in water. Remove only the parts the manual lists as washable, and wipe the rest with a damp cloth.
Skipping Full Drying Before Reassembly
Trapped moisture can cause odors, rust or electrical problems. Dry each part completely and let the unit air dry before plugging it in.
Frequently Asked Questions
Can I put the Blackstone air fryer basket in the dishwasher?
Some baskets may be listed as dishwasher safe, but this depends on the model. Check your manual first. Hand washing with warm, soapy water is a safe choice for most users.
How often should I clean my Blackstone air fryer?
Wipe the basket and crisper tray after each use. Do a deeper clean once a week and check the vents and fan area once a month. Clean more often if you cook greasy foods.
What is the best way to remove burnt food from the basket?
Soak the basket in warm, soapy water to soften the residue. Then use a plastic scraper or soft brush to lift the bits. Avoid metal tools, which can damage the nonstick surface.
Can I use vinegar to clean my air fryer?
A diluted vinegar solution can help with light residue on the outside housing, but most jobs do not need it. Test it on a small hidden area first and rinse well. Keep it away from the heating element and control panel.
Why does my air fryer smell after cleaning?
A lingering smell usually means grease or moisture is still trapped somewhere. Check the basket, crisper tray and chamber for hidden residue. Make sure every part is fully dry before using the unit again.
Conclusion
Cleaning a Blackstone air fryer is straightforward when you follow a steady routine. Unplug and cool the unit first, then wash the basket and crisper tray after each use. Clean the interior and heating element gently, and never submerge the main unit. Dry every part fully, and use soft tools and mild soap to protect the nonstick surface.

Mary is a home cooking enthusiast and kitchen appliance reviewer who loves helping people find the best tools for everyday meals. She enjoys testing air fryers, deep fryers, and other cooking appliances while sharing honest reviews and practical buying advice. Through FryerPick.com, Mary provides expert guides, product comparisons, and cooking tips to help readers choose the right fryer for their kitchen.