How To Clean Bottom Tray Of Air Fryer
Key Takeaways
- Cleaning the bottom tray of an air fryer after use keeps grease from building up and affecting food.
- Always let the appliance cool and unplug it before you clean any part.
- Warm water, dish soap and a soft sponge handle most everyday grease.
- Soaking loosens stuck-on residue, which makes gentle scrubbing easier.
- Dry every part fully before you put the air fryer back together.
Introduction
The bottom tray of an air fryer, often called the drip pan or crisper tray, catches grease and crumbs as food cooks. Over time, that residue can cause smoke, odors and uneven cooking. Learning to clean it is one of the most useful habits a beginner can build.
This guide covers what builds up, how to clean the tray step by step, and how to handle stubborn grease. It also covers cleaning frequency and common mistakes.
Why the Bottom Tray of an Air Fryer Needs Regular Cleaning
An air fryer moves hot air quickly around food. Fat and small food bits drop down as it cooks, and the bottom tray sits right under that path, so it collects most of this material.
Regular cleaning keeps the appliance working as intended and helps prevent unpleasant smells. Neglected trays are a common reason people notice more smoke than expected.
What Builds Up on the Air Fryer Basket Tray
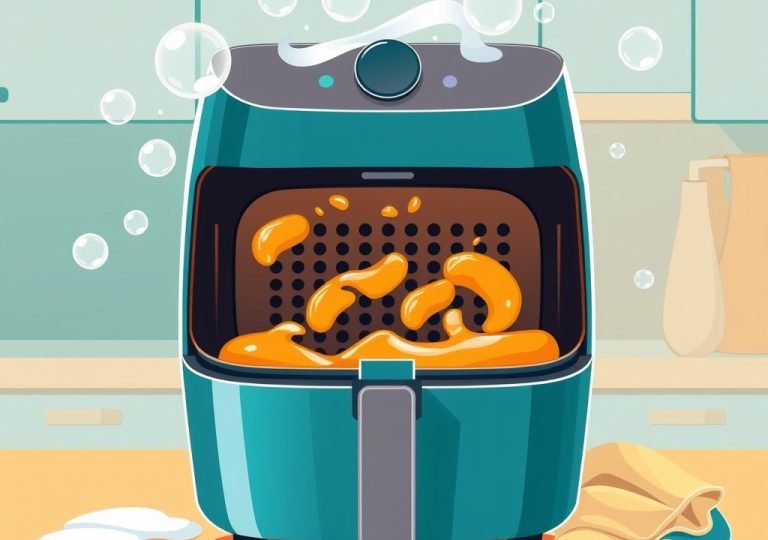
The most common buildup is cooking oil and fat, which thicken as they cool. Crumbs from breading, cheese drips and sugary marinades collect in the same spot.
Over several uses, these layers turn dark and sticky, and small pieces can bake on. Catching the mess early makes cleaning far easier.
How Grease and Food Bits Affect Cooking Results
Grease left in the tray can heat up again during the next session, creating smoke and a burnt smell that can transfer to your food. Crowded debris may also affect how evenly food cooks.
A clean tray also makes it easier to see how your food is browning. In short, a tidy tray supports better results.
Parts of an Air Fryer You Need to Know Before Cleaning
Air fryers vary by brand and model, so part names may differ. Most designs share a few core pieces. Knowing what each one does helps you clean without causing damage.
Basket, Crisper Plate and Drip Pan Explained
The basket holds food while it cooks. The crisper plate is a perforated insert inside the basket that lets air move under the food. The drip pan sits beneath both and collects liquids and crumbs.
Some models have a removable drip pan, while others have a fixed tray that slides out. Check your manual to confirm which type you have.
Non-Stick Coating and Other Surface Types
Many baskets and trays have a non-stick coating that helps food release easily. Others may be bare stainless steel or a different finish. Each surface reacts differently to cleaning tools and chemicals.
Coatings can wear down if scrubbed hard or cleaned with abrasive materials. Your manufacturer’s care guide usually lists the safest approach.
Gather the Right Cleaning Supplies
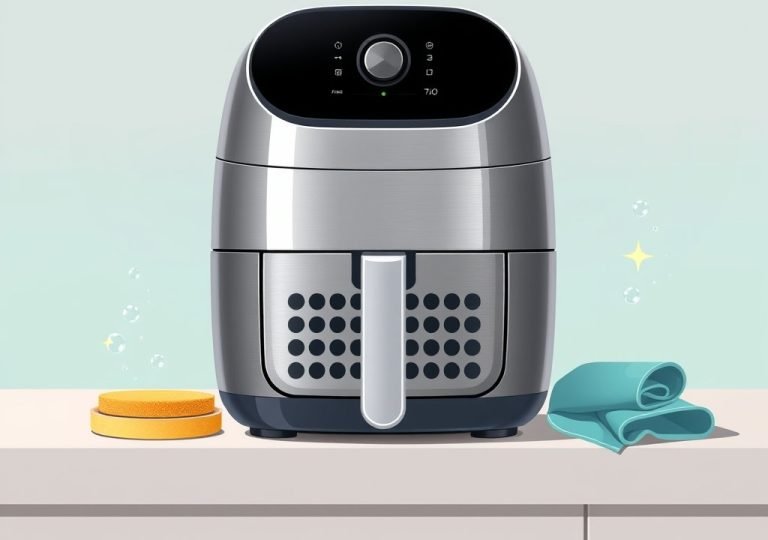
You do not need specialized products to clean an air fryer tray well. Most of what you need is already in your kitchen. Gather everything before you start.
Warm Water, Dish Soap and a Soft Sponge
Warm water and a few drops of mild dish soap handle most everyday grease. Warm water loosens fat more easily than cold water. A soft sponge cleans the surface without leaving marks.
Replace old sponges when they start to smell or fall apart. Worn sponges can spread food particles back onto the tray.
Non-Abrasive Tools to Avoid Scratches
Avoid steel wool, metal scouring pads and harsh scrubbing brushes. These tools can scratch the surface and damage non-stick coatings. Once the coating is scratched, food is more likely to stick.
A nylon brush or plastic scraper is usually gentle enough for stuck-on bits. Use these only if soaking and a soft sponge do not work.
Step-by-Step: How to Clean the Bottom Tray of an Air Fryer
These steps apply to most models. Always read your manual first, since some parts have specific instructions. Work on a counter with good light so you can spot leftover residue.
Remove and Empty the Basket Safely
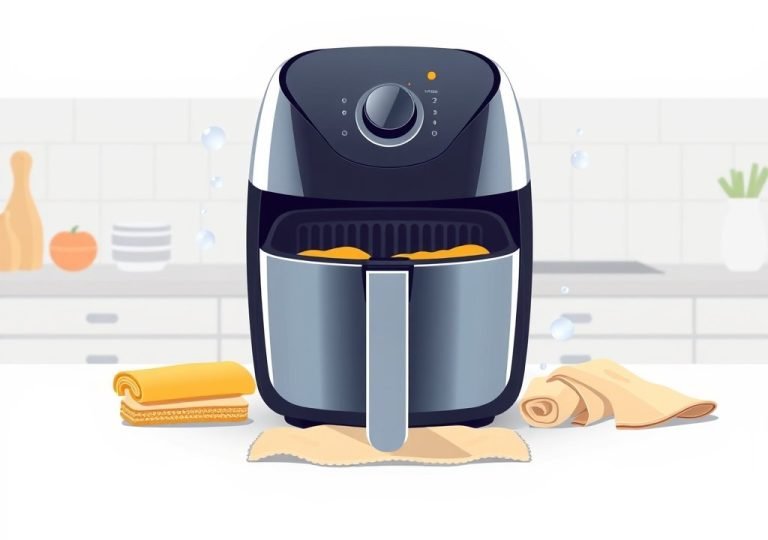
Unplug the air fryer and let it cool completely. Hot surfaces can cause burns, and hot grease can splash. Then pull out the basket and the bottom tray.
Pour any liquid fat into a heat-safe container or dispose of it according to your local rules. Never pour grease down the sink. Wipe away loose crumbs with a paper towel.
Soak the Tray to Loosen Stuck-On Grease
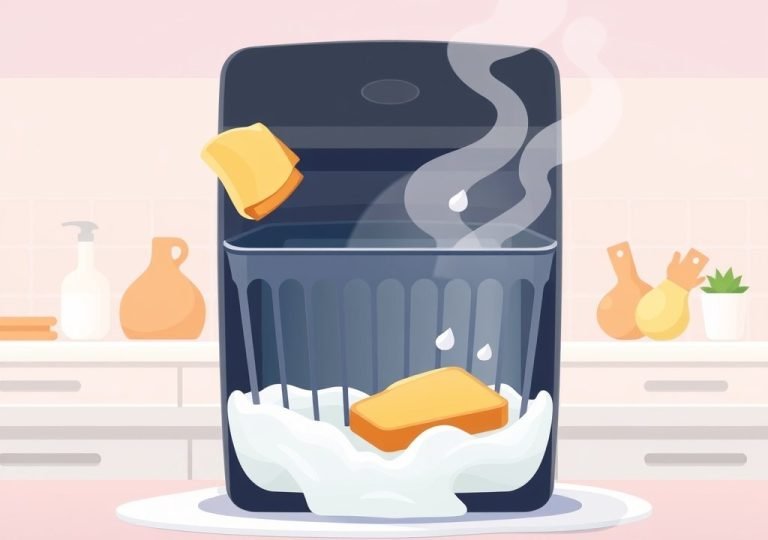
Fill your sink or a basin with warm water and a small amount of dish soap. Place the tray in the water and let it soak for about 10 to 15 minutes. Soaking softens hardened fat so it lifts away more easily.
If the tray is too large for the sink, use a large container. Make sure water fully covers the tray.
Scrub Gently and Rinse Thoroughly
After soaking, wipe the tray with a soft sponge in small circles. Focus on corners and edges, where grease tends to collect. Rinse under clean running water until no soap remains.
If sticky spots remain, repeat the soaking and gentle scrubbing. Thorough rinsing keeps soap taste out of your next meal.
Dry Every Part Completely Before Reassembling
Dry the tray and basket with a clean towel or let them air dry on a rack. Make sure no water remains in corners or seams. Trapped moisture can cause problems over time.
Reassemble the air fryer only once every part is fully dry. Damp parts can lead to odors or electrical concerns.
Cleaning Tips for Stubborn Grease and Burnt Food
Sometimes a regular wash is not enough. Baked-on residue and burnt bits need extra time. The methods below are gentle options many people use.
Soaking Methods for Baked-On Residue
For tough buildup, soak the tray longer, sometimes for an hour or more. You can also add a little more dish soap. Check periodically and gently test if residue lifts.
Avoid boiling water on plastic or coated parts unless your manual allows it. Heat can warp some materials.
Using Baking Soda Paste on Tough Spots
Mix baking soda with a small amount of water to form a paste. Spread it over stubborn spots, let it sit for a few minutes, then wipe gently with a soft sponge.
Baking soda is mildly abrasive, so use light pressure. Rinse well afterward so no powder remains. Test a small hidden area first if you are unsure about your surface.
Avoiding Harsh Chemicals and Metal Scouring Pads
Strong oven cleaners, bleach and abrasive powders can damage coatings and leave residue behind. Metal scouring pads scratch surfaces and make food stick more easily later. Stick with mild dish soap and gentle tools.
If a stain remains after these methods, it is usually harmless. Patient, repeated gentle cleaning is safer than aggressive treatment.
How Often Should You Clean the Air Fryer Tray?
The right schedule depends on how often you cook and what foods you prepare. Greasy meals need more frequent attention. Lighter cooking may need less.
Cleaning After Each Use Versus Deep Cleaning
A quick wipe after each use prevents most buildup. Once the tray is cool, rinse it or wipe it with a soft cloth.
A deeper clean with soaking and scrubbing helps regular users every week or so. It removes residue that quick wipes miss.
Signs That Your Tray Needs Extra Attention
Watch for sticky surfaces, dark spots, or a burnt smell when you preheat. Smoke during cooking and food that sticks more than usual are also signs. Scratches in the coating make cleaning harder, so check for them too.
If you notice these signs, clean before the next use. Acting early saves effort later.
Dishwasher-Safe Versus Hand-Washing the Tray
Some air fryer parts can go in the dishwasher, while others should be washed by hand. The right choice depends on your model and materials. Always check before you load the machine.
Checking the Manufacturer’s Care Instructions
The manual or product label states if each part is dishwasher safe. Ignoring these instructions can void warranties or damage coatings.
If the guide is missing, search for your model number on the brand’s official website. This is the most reliable source for your appliance.
Pros and Cons of Each Cleaning Method
Dishwashers save time and use high heat to remove grease. However, harsh detergents and heat can dull some non-stick finishes over time. Hand washing gives you more control over pressure and water temperature.
- Dishwasher: convenient for dishwasher-safe parts, but may affect coatings with repeated use.
- Hand washing: gentle on surfaces and allows targeted scrubbing, though it takes more time.
Many beginners hand wash the tray and use the dishwasher for less delicate parts. Either way, dry everything completely before reassembly.
Common Mistakes Beginners Make When Cleaning Air Fryer Trays
Most cleaning problems come from a few avoidable habits. Knowing them ahead of time helps you keep your tray in good condition.
Scrubbing Too Hard and Damaging the Coating
Pressing hard with rough tools can wear away non-stick coatings. Once the surface is worn, food sticks more and cleaning gets harder. Gentle, repeated cleaning works better than force.
Reassembling While Parts Are Still Damp
Putting damp parts back into the unit traps moisture inside. This can cause odors and may affect the appliance over time. Let every piece dry fully before reassembly.
Ignoring the Heating Element and Fan Area
The tray is not the only area that collects grease. Grease can also build up near the heating element and fan. Wipe these areas only when the unit is unplugged and fully cool, using a dry or lightly damp cloth.
Never submerge the main unit in water, and keep liquids away from the electrical base. Consult your manual for specific instructions about internal parts.
Frequently Asked Questions
Can I put the air fryer bottom tray in the dishwasher?
Some trays are dishwasher safe, while others are not. Check the manufacturer’s care instructions. If the guide does not say, hand washing is the safer choice.
What is the best way to remove burnt food from the tray?
Soak the tray in warm, soapy water first. Then apply a baking soda paste and gently wipe with a soft sponge. Rinse thoroughly once the residue lifts.
Can I use steel wool to clean the air fryer basket?
Steel wool is not recommended because it can scratch and damage non-stick coatings. Scratches also make food stick more easily. A soft sponge or nylon brush is a better choice.
How do I stop grease smoke caused by a dirty tray?
Clean the bottom tray after each use so grease does not build up. Dry it fully before the next session. Removing leftover fat before preheating also helps reduce smoke.
Does a dirty tray affect how well my air fryer cooks?
A dirty tray can add burnt smells and smoke to your food. Buildup in the airflow path may also affect how evenly food browns. Keeping the tray clean supports more consistent results.
Conclusion
Cleaning the bottom tray is a simple habit that keeps your air fryer working well. Unplug and cool the unit first, then soak, scrub gently and rinse. Always dry every part completely before reassembly. With a regular routine, your tray will stay cleaner and your food will taste better.

Mary is a home cooking enthusiast and kitchen appliance reviewer who loves helping people find the best tools for everyday meals. She enjoys testing air fryers, deep fryers, and other cooking appliances while sharing honest reviews and practical buying advice. Through FryerPick.com, Mary provides expert guides, product comparisons, and cooking tips to help readers choose the right fryer for their kitchen.